
Hello my dear friends, lately I
published a post about how to make an appliqué in the sewing machine and I hope
you guys enjoyed, but now I am making a post about how to make an appliqué by
hand.
Not everybody has the ability to have
a sewing machine or take it everywhere you go. So this is the reason I decided
to make a tutorial about making an appliqué by hand.
Tools
necessary to make an appliqué by hand:
·
Fusible pellon
·
Scissors
·
Needles and thread
·
Glue in stick
·
Fabric in different colors
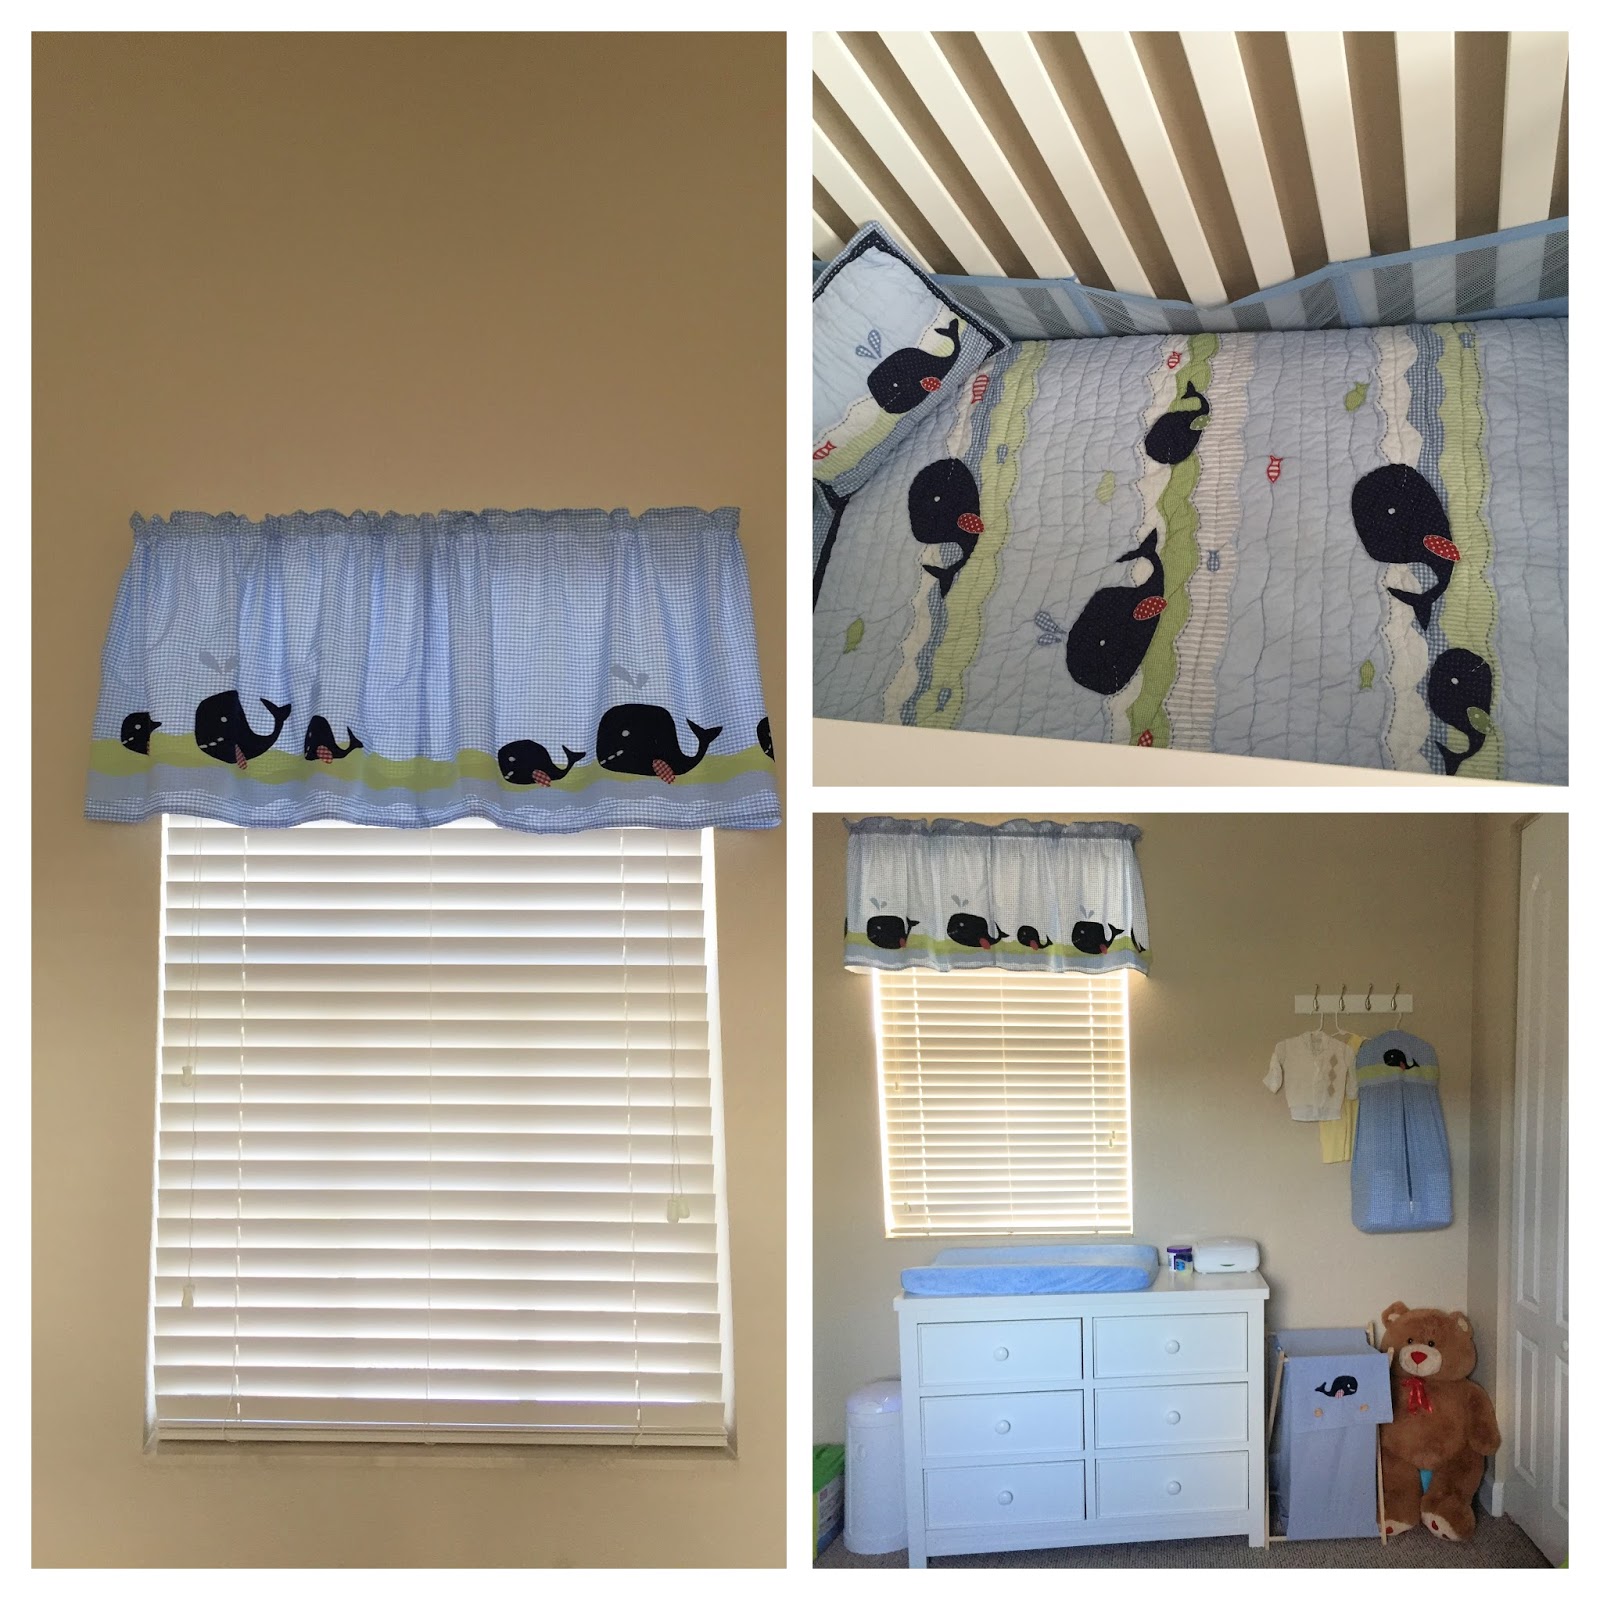
I recommend You to have the design
you want to create as an appliqué. This one I have right here are the whales I
used to decorated the room of my baby but I forgot to put the design in the
hamper of dirty clothes.

Now, I have my design and it is time to place your print In
the pellon.
Note: for those of you that have not been in contact with a
fusible pellon before, this one is the used to stabilize the neck in the shirt
and also the cuff of the sleeves. Also
the fusible pellon has 2 faces. One is bold and it is there where you want to
print your design with a pen or pencil, and the second face is bumpy, those
little bumps are glue that once you place the bumpy side to the fabric and
place the iron on top, it will glue your pellon to the fabric. In the picture
below to the right hand, you will see the pellon. Just to have an idea!

Lets draw
with a pencil our design in the pellon!

1.
Cut out every single piece of your
design out of the pellon and we are going to iron them to the fabric. Do not
move your iron in circular ways when ironing the pellon, just place your iron on
top for 30 seconds.
2.
After the design is ironed to the
fabric, leave ¼” seam.
3.
Cut every piece out. Take mi picture
below as an example.

I have cut out the 2 pieces of my
project and now I am going to cut in diagonals from the edge of the seam
allowance, all the way to the base of the pellon. This is so we can put the seam allowance
inside of the design and avoid the fabric unraveling.

Well you guys know so techniques out
of place and the next to be used maybe is one of them. Take your glue stick and start putting glue
in all the edge of your pellon, because we are going to glue the little lines
that we cut into the desing. Take a look
to the picture below and you will get the idea. It is going to make much
easier, specially if your design has curves or circles.

Here in the picture below I am
showing you the seam allowance already glued to the inside of my design and it
is time to place your whole design in the place where you want your appliqué.

Now it is time to sew your appliqué in place, I am using the blanket stitch.
In the picture below you will find
the whole idea, it is very ease, Just hold your thread with the left hand, while
placing your needle from the design all the way through the bottom fabric where
you are placing the appliqué, take the
needle out making sure the thread is behind the needle, Now just pull your
needle all the way out and the thread will make a little cute edge.

This is
all, your appliqué is finished and in place.
Below there is a picture of the whole decoration I did for the baby
room.
I hope you guys enjoyed the tutorial,
don’t forget to subscribe to my blog if you like my posts, Have a nice day and
God Bless you!


No comments:
Post a Comment