


This pattern you will find it in stores like hobby lobby and Jo Ann. also you can find it directly at their website: http://www.simplicity.com search for the 6323
Lets begin!

- the first thing that I do I to cut out every piece that I am going to use to make this top.
- put every piece of your pattern on top of your fabric and cut the pieces out of fabric. Make sure some of these pieces are on fold, so keep that in mind.
- Me personally, I like to draw the patterns that have so many curves in the fabric with my pre-school marker, so I can cut it out much easier. This pattern is for Knits fabrics and sometimes knit fabrics can move a lot.
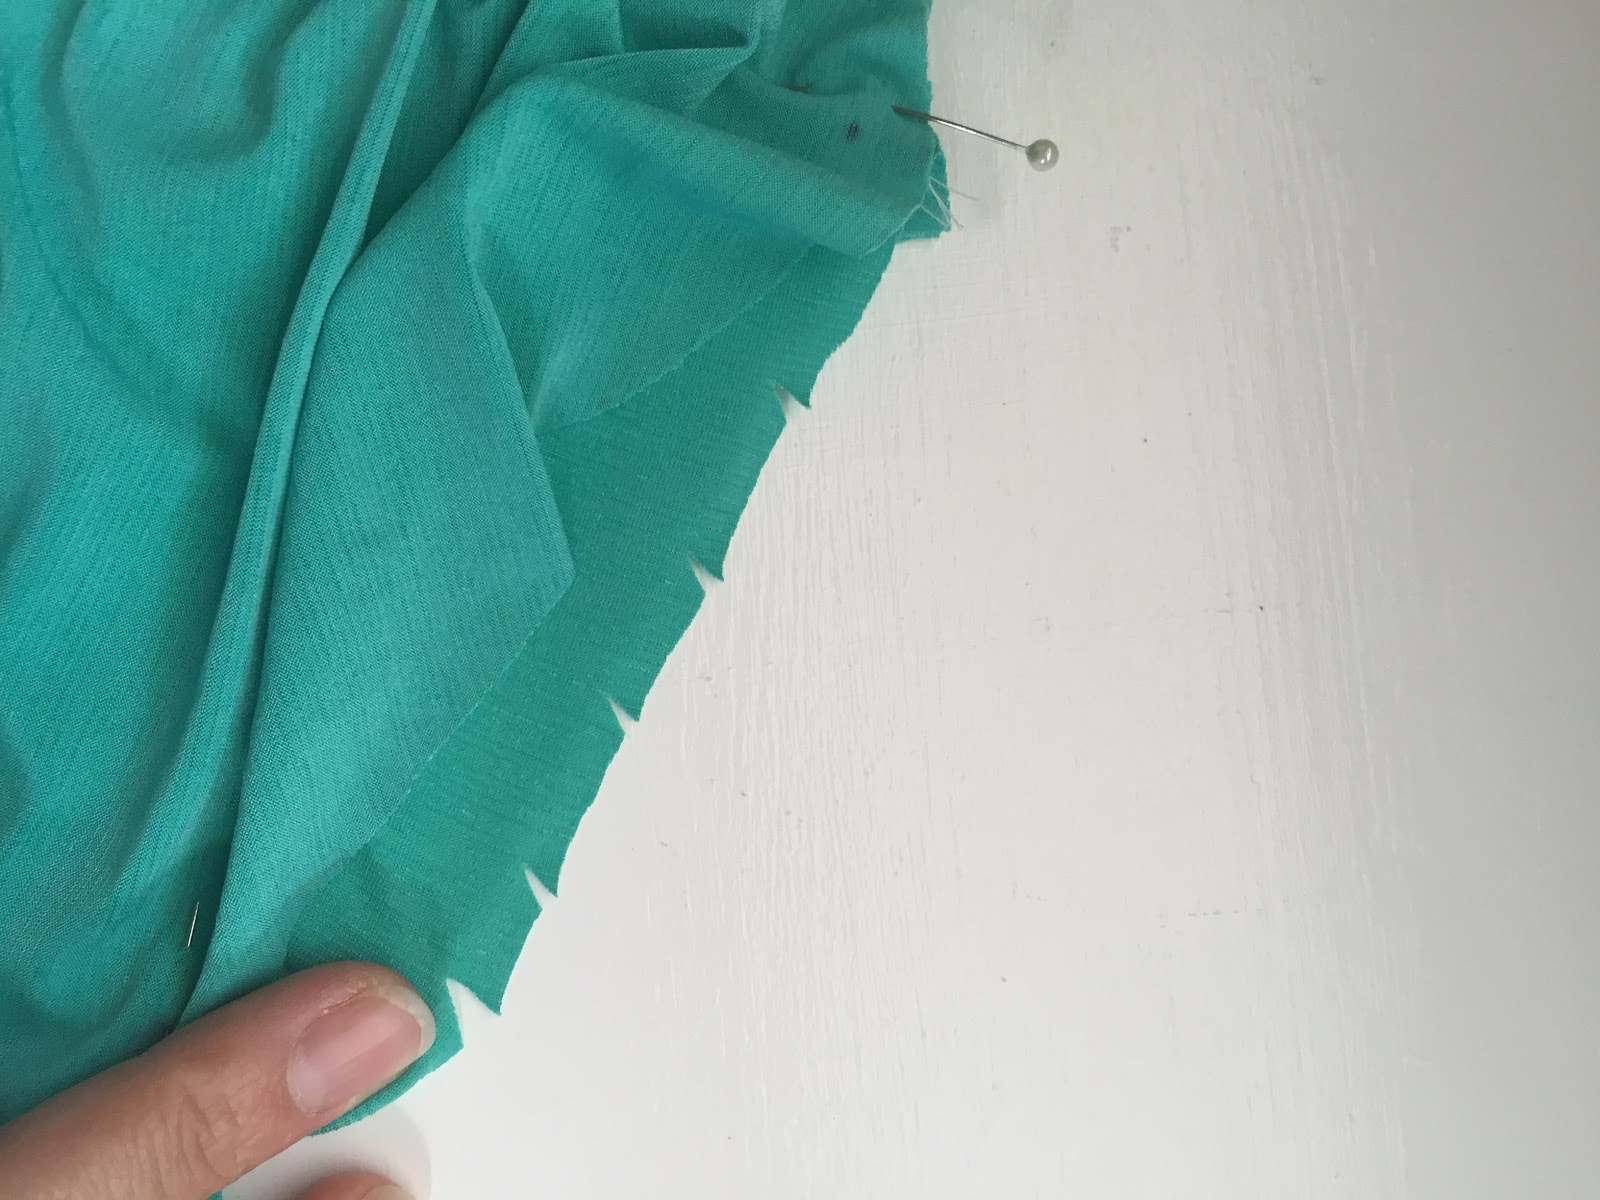
- I am cutting out two layers of fabric in the picture above and that is why you can see so many pins at the moment.

- now that I have all my pieces out: front shirt on fold, back shirt on fold and my sleeves, I will recommend a jersey needle for this Knit fabric project.
- And the mean reason for this is that a standard needle will create holes in the knit fabric making it to reap, and jersey needles point are more round, letting the needle pass through the fabric without breaking it.

- Now put together the front and back shoulders. like you can see in the picture above right hand top one.
- sew them together with a 3.0 straight stitch
- with a piece of clear elastic, the same length as the shoulder line, sew it on top of the shoulder line; this is so In the future this seam does not stretch out.

- Now you have the shoulders together, you need to open that seam like in the above picture left hand bottom one. we are going to pin the sleeve.
- the sleeve has notches that indicate front and back. In the picture above to the right bottom one, it a sleeve with the single notch, that is the front. Always!
- and the top picture from above has 2 notches indicating that is the side that you sew to the back shirt.
- the shirt at the front underarm has a single notch to match the one in the sleeve and the same for the back, it has 2 notches to match the sleeve.

- Pin your back sleeve to the back underarm, the shoulder line to the center of the sleeve like in the picture above and also pin the front underarm to the front sleeve.
- make little diagonals cut in the back and front underarms. (not the sleeve cap) so the fabric can have more ease to sew perfectly and match the length of the sleeve cap. Most sleeve caps have around 1/2"to 1" ease.

- start sewing your sleeve to the shirt, the sleeve needs to be on top and the underarm of the shirt at the bottom, so you can stretch the fabric with your fingers while sewing. If you don't have much experience sewing, I recommend you to stretch the fabric with your hand and pin it. you can find an example in the above picture to the left.
- Knit fabric wont unravel, but if you are like me that love finishing the edges of your cloth so they look more professional, go ahead and serge it like I do in the picture above to the right.

After you have sewn your underarms with the sleeve cap, it is time to sew the whole side, all the way from the hem of the sleeve, pass the underarm to the side of the shirt until you reach the hem of the shirt.
in the sides of the shirt at front and back, there is a notch that indicates those pieces go together, for example look at the pictures above the top one at right hand. those are the notches.
You can see that you need to match also your underarms so you can have a great seam like I did in the picture above all the way to the left. and there you have your shirt almost finished.

It is time to finish the neckline, for that we are going to put the band that comes with the pattern, but it is very important that you find the middle of your neckline in 4 equal parts. like you see in the picture above to the right hand at top. there are 4 purple little lines that I made to show the 4 equal parts.
- like in the picture above to the right hand bottom one you are going to put shoulder lines together and the back and front of the shirt on fold.
- Make a mark with your pen or marker in the center back and center front of the shirt.
- like the picture above all the way to the left hand, you are going to put together front fold to back fold and there you will find the other middles.
many people think that center back, center fold and shoulder lines are the 4 cardinal points they need in a shirt but that is wrong, with the method above you can see in the picture to the right hand on the top, that my shoulder lines are not the points but at least 1"before them.

- Now we are going to attach the band to the neckline, to this band you are also going to find your 4 cardinal points like we did on the neck like but much easier. Just put your band on fold and mark center back and center fold and fold again.
- match the 4 cardinals point of the neckline with the one in the band and pin so they don't move.
- keep in mind you need to place the band to the outside of the shirt, the part that everyone is going to see, so the seam will be place to the inside. look at the picture above, top one.
- next thing you have do is to sew them together stretching the band to match the neckline (yes! the band is always smaller so it doesn't gap). the neckline must be at the bottom and the band on top while sewing.

Now finish your neckline by making a top stitching in the outside of the shirt at the neckline, sewing the seam allowance down, for a more professional look. This all now everything you need to do is hem your dress and the sleeves, or not hem them at all if you prefer because It is a knit. I just finish mine with my twin needle.
find this top in my Outfits tab
This is the end of the tutorial, I hope you like it, subscribe to my blog for more interesting posts and May God Bless You.


No comments:
Post a Comment