A Vacation Memory

 A memory for Life

My husband, baby and I were in vacation with my husband's whole family; It was my MJ's first family vacation and I wanted to make it memorable for him in the years to come.
During our time spent at the beach with his grandparents and dad, we used to pick up shells and MJ collected them in a bucket. So I had this wonderful idea while having a breakfast picnic my son and I at the beach.


The lamp you can find it in a Target store or online www.target.com
this lamp is very easy to work with.


The lampshade needs to buy separate!


I washed the shells in fresh water and put them to air dry, meanwhile I brushed the dry shells with a clear polish nail to keep them shiny.
With a permanent marker I wrote the date of the family vacation and under the shell that I could recognize, I wrote the name of the person who found it for MJ.  This was the idea of  my mother in law.


  And this is the result!


Don't forget to subscribe to my blog for new ideas,  God Bless you!

Toddlers Shirt

Me Made


fabric (tela) : Ponte Knit / tela elastica

Pattern (patron): Kwik K3150

Store (tienda): www.fabric.com 


My boy loves when I sew something new for him; Every time I am sewing something he asks if it is for him, so finally he got one for him.  my favorite K3150 the pattern is with long sleeves but I adjusted with short sleeves for the transition from summer to fall.


Mi hijo hermoso ama preguntarme  si el proyecto que estoy haciendo es para el, asi que finalmente tuve que hacerle uno. Este es el patron comercial K3150 de kwik sew en McCall, trae mangas largas pero yo se las ajuste a manga corta para la transicion de verano a otoño.


No olvides suscribirte a mi blog para nuevos post

Don't forget to subscribe to my blog for new posts

Bias Tape

Bias tape to Finish necklines and sleeve Hems


I have some joy making this top with McCall's pattern M7323, because it has a style clean and simple that allows  me the pleasure to play with my fabric and its different prints.

to finish the neckline and the sleeve hems, I decide to add some bias tape that I did myself from a left over fabric in my stash, instead of just folding the hem.

How I do my bias tape

first, the bias tape it is a strip as wide as you need It but it needs to be cut in a 45 degree angle.  If you have not much Idea, some of my pictures will help.


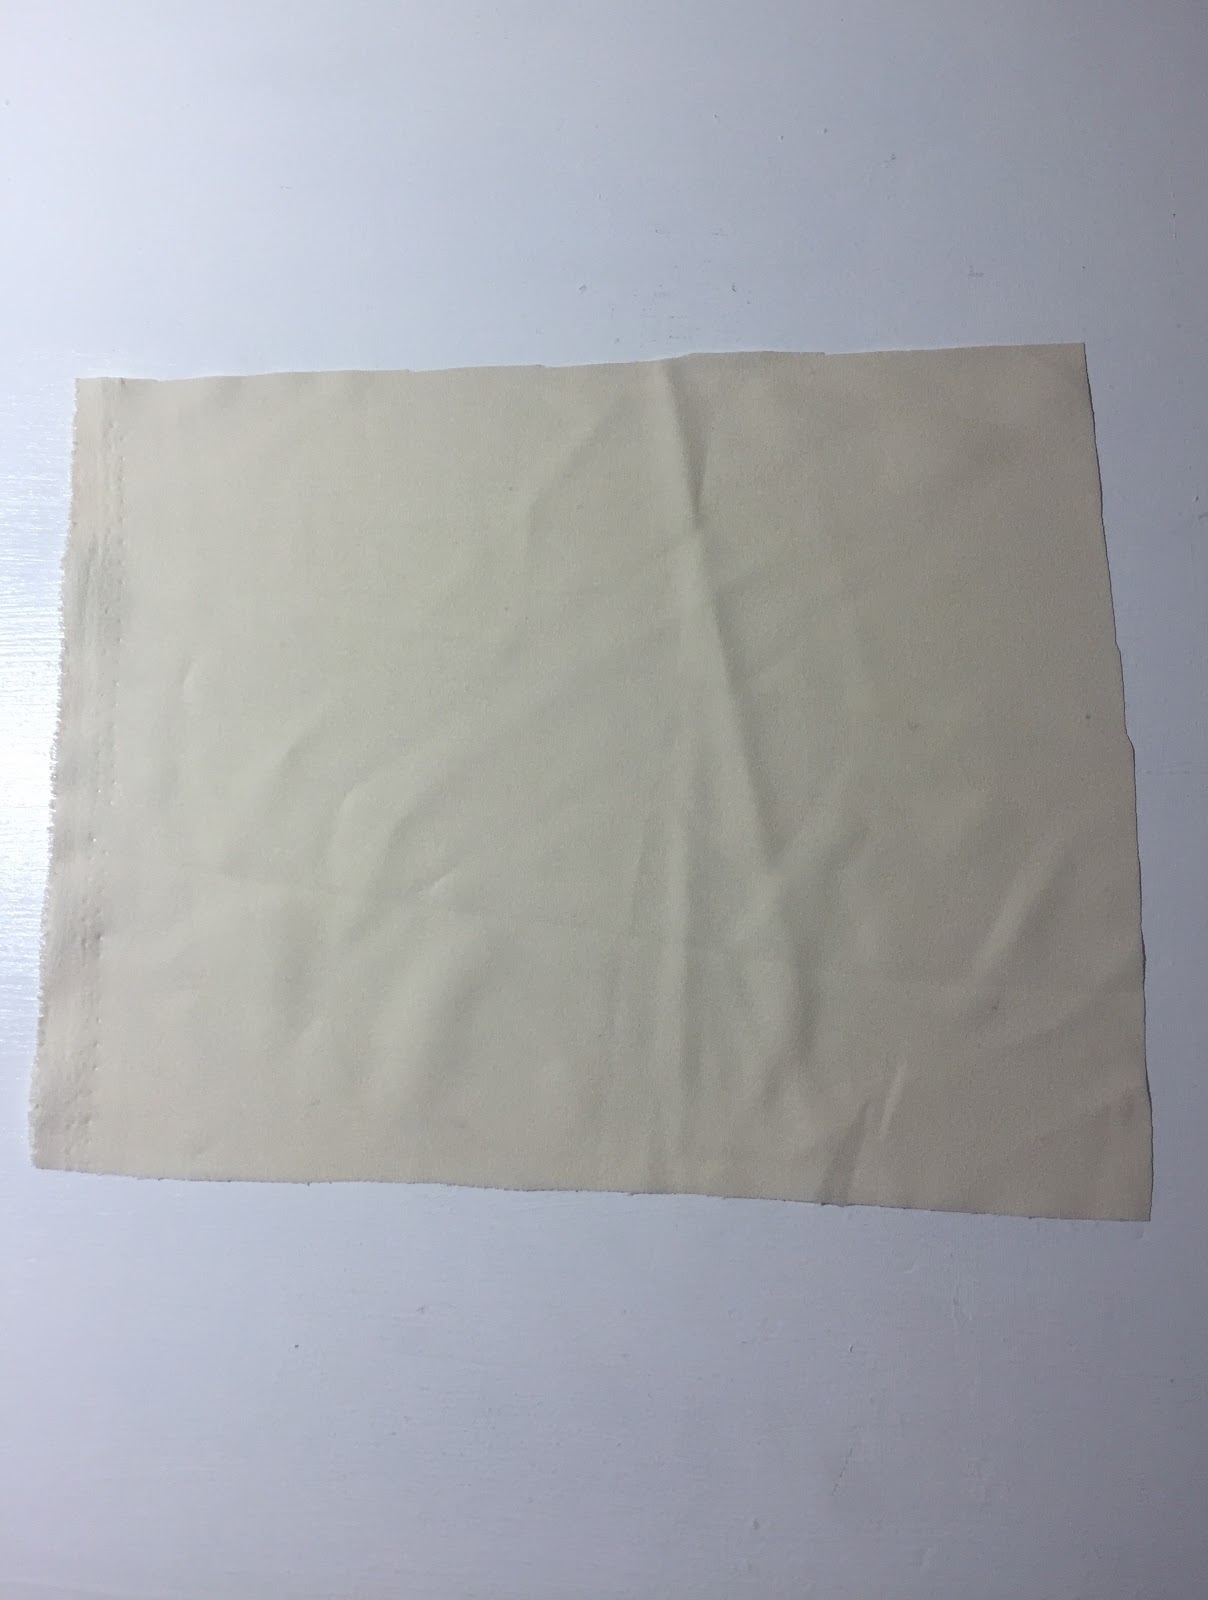
For example in the picture to the left, I have a square of fabric, it doesn't matter at this point where is the length wise because we are going to need a 45 degree angle.
so we are going to make it happen!


Here It is!
to remember some basic math, if you draw an arrow from the center to the top of the fabric square, it is a 0 degree. +
drawing another arrow from the center at the + right side of the square, you will have 90 degree angle.
So the corner at top right will be our 45 degree angle, as I show you in the picture.


As I cut my bias tape, I want to show you in the pictures what is the deal with the bias tape.

Here we can see that if I try to stretch the fabric in the wide side, The fabric won't stretch at all.


Now lets appreciate the significant stretch you get if you pull in the 45 degree angle.
Not only you get some stretch, but the bias tape also allows you to move your fabric in directions and circular ways without making gaps or being stiff.

Now it is important how to sew the ends of the stripe.


 Try to cut both ends in the same degree, because if you cut it straight like an I, you will end having gaps, so it is better to keep it in an angle (/).

To sew you need to match one end to the other leaving the tails of the angle out.
you will find an example in the picture below!

Don't be afraid of sewing the stripe in the 45 degree angle, because it will work! now you only have to sew the closed stripe to your hem or neckline.


This is my finished shirt, I used the McCall's pattern M7323.


If you liked my tips and tutorials, don't doubt in subscribing to my blog or follow me in my facebook page, I hope you enjoy it. 
God Bless You!


Cinta Bies

Cinta en Bies para Cuellos y borde de las mangas


Hace poco hice esta blusa que me ha gustado muchisimo, el character que tiene ese encaje de seguro que le brinda elegancia, pero no podria dejar de mencionar que lo que mas me cautiva es el detalle del cuello y mangas que fue terminado en cinta en bies de una tela que me sobró.  Para este top he usado el patron de McCall's 7323 con la unica modificacion que le puse bies en cuello y mangas.

como hacer tu cinta bies para terminar tus cuellos y mangas


lo primero que hay que tener en cuenta es que para hacer la cinta en bies, se debe cortar en un Angulo de 45 grados. si no recuerdas mucho esta informacion matematica, quizas mis fotos te ayuden.


Aqui tenemos un cuadrado sin importer cual es el largo o el ancho de la tela. 
si dividimos este cuadrado en 4 partes iguales o como forma de cruz (+) , cuando miramos hacia arriba este será el Angulo 0 grados.
cuando nos desplazamos hacia la derecho de la cruz, alli estara el Angulo 90 grados.
Entonces en la esquina de arriba hacia la derecho es donde se encontrara el Angulo de 45 grados.

Haremos la cinta del ancho que necesitemos, la mia es de 2.5 cms de ancho.


Con esta foto quiero mostrarles la significancia del porque la cinta debe ser en bies.
si vemos la foto de la izquierda, con mi mano estoy tratando de estirar la tela a ver si encuentro algun tipo de estiramiento, pero no lo hay.


Ahora veamos esta foto, cuando con la misma fuerza trato de jalar la tela en la direccion del Angulo y pueden ver el grado de estiramiento que la tela posee cuando se corta en un Angulo de 45 grado.
esto sucedera con cualquier tela que ustedes lo intenten, aunque no creo que suceda con cuero o cuerina.
una de las bondades de la tela en bies, es que muy dificilmente se deshila.


Ahora que ya tenemos la cinta en bies, lo Segundo es saber como cortar las puntas;  Estas Deben estar siempre en el mismo Angulo. 
A mi se me hace facil recorder con este simbolo (/)


Ahora solo debes de unir la dos puntas como observan el foto de la izquierda y proceder a coser la cinta.
Es importante que la cinta este en Angulo (/) y no recta como una I.  porque asi se evitan unas bolsas que se forman al coserlo al cuello o las mangas.
La cinta en bies posee otra cualidad y es que da facil manejo para las curvas, haciendolo especial para el cuello.


Asi ha quedado mi blusa, la he amado y  me he divertido con el look que me da. He usado el patron commercial de McCall's 7323

  Si ustedes han disfrutados de mis tips y tutorials, No olviden suscribirse a mi blog o segurime en mi pagina de facebook.
Dios les Bendiga!

como coser telas con listas o lineas!

Yo he estado aprendiendo de la costura y cosiendo por mas de 7 años, más aun recuerdo como si fuera ayer cuando comencé.  Mi abuelita estuvo trabajando en la costura casi toda su vida pero cuando los nietos llegaron ella lo dejo a un lado para dedicarnos su maravilloso tiempo; Yo personalmente lo he apreciado muchisimo  porque de ella aprendi unas de las cosas mas importantes en mi vida.  Mi abuelita es un maravilloso ejemplo de una persona Cristiana, de esas que ya no se encuentran a menudo. Asi que como venia escribiendo el tiempo en las costura es algo que corre por mis venas. Muchas de las mujeres en mi familia en su mayoria tienen una maquina de coser, asi que cuando yo decidi embarcar en este maravilloso arte ya tenia una maquina disponible.  Yo aprendi a hacer mis primeros patrones con un libro regalado y de inmediato mi abuelita y todas las mujeres de la familia comenzaron a regalarme sus tips pero todo cambio aquel dia en que mi abuelito llego con un para de pantalones para que le cambiara la corredera vieja del pantalon por una nueva, y yo acepte el reto aunque un poco nerviosa, pero me puse mas nerviosa aun cuando llego mi abuelita a casa y me dijo: "ten mucho cuidado con esos pantalones de tu abuelo porque son los unicos que tiene." Me senti como recien salida de unos de los cuentos de Gabriel Garcia Marquez.

Bien al final de todo le trate sus pantalones como si fueran una joya y en realidad me sirvio para ganarme el apoyo de mi abuela y el respeto de otras.  Despues de eso, me hice mi primer vestido straples que lo use para la navidad de ese año.  (Necesito encontrar la foto de ese vestido.)


Ahora les puedo contar que la costura para mi no es algo que me gusta hacer para salir del paso o para hacer algo en un solo dia, sino que se trata de los maravillosos detalles, aquellos detalles que hacen la diferencia de una ropa hecha a mano a una fina y por eso hoy les traigo estos tips de como trabajar con telas de lineas o listas para que al coser las piezas una a la otra, estas coincidan perfectamente.


como coser telas con listas que se unan perfectamente?


Estoy trabajando con el patron comercial de Kwik K3150, mangas raglan cortas para el verano y tela elastica jersey.


Lo primero que yo hago es unir el patro posterior de la blusa con el delantero, uniendolos por el espacio de costura que aqui es alrededor de 1 Cm.

segundo al estar unidos con una regla paso una linea recta desde el centro del patron posterior a la izquierda hasta llegar al centro del patron delantero hacia la derecha.  Hago lo mismo en la sisa de las mangas.  (no importa a que distancia, lo importante es que sea de un extremo al otro.


Ahora que ya tengo las lineas de la blusa y en la sisa de la manga, voy a pasar las misma lineas hacia la manga.  De nuevo teniendo en cuenta el espacio de costura de las dos piezas, pongo la manga arriba del patron delantero en este caso de la foto de abajo y tomo la linea de la blusa.
Nota: es muy importante que la manga este posicionada sobre el patron delantero de la forma precisa a com se va a coser para que quede perfecto.


Aqui os dejo un ejemplo de como lucira al ser cosido estas dos piezas. Ahora solo falta que te decidas con que lista (balnca o negra) quieres emparejar tus lineas en el patron.  El color que decidas, asegurate que todas las lineas trazadas en tu patron coincidan con esa lista del mismo color.


Otro tip que me gustaria agregar es que al coser telas con lineas o listas es necesario hacerlo de forma lenta y la razon de esta es simplemente porque al coser dos capas de telas en la maquina, la capa o tela de abajo tende a estirarse mucho mas que la tela de la capa de arriba de forma que mueve o interfiere en el emparejamiento de las listas. 

Esto ha sido todo por hoy, espero que puedan disfrutar de estos tips. Si ha sido de tu agrado no te olvides de subscribirte a mi blog para que recibas todos mis post sin perderte de ninguno y no te olvides de seguirme en facebook e instagram.   
Dios le Bendiga! xxoo

How to work with stripes

I have been sewing and learning for more than 7 years now and to me it seems like it was yesterday when I first started.  My grandma has been sewing her whole life but once her grandchildren came along she stopped sewing to give us her unique and most beautiful time. 

I personally appreciate her so much for everything that she did specially for being a wonderful Christian example that you don’t find very often around anymore. So sewing is in my veins like we said in Colombia.  My grandma, aunts and mom own a sewing machine so when I was decided to learn, I had that tool handy.  So I got a book and start learning how to make my own patterns, my grandma started telling me her story of how she learned, how far sewing took her in life and why she quit; all the ladies ( my mom, aunts and grandma)  started giving me support and tips to succeed.  My grandpa was my first bait ajajajajaj yes, he was the first one who trusted me his pants to replace the zipper and I have never changed a zipper before, so I felt the pressure but it got so much worse when my grandma came to my mom house and told me: “be careful with those pants, are the only pair of pants that he owns” the story of my life, I felt like a character coming out of Gabriel Garcia Marques book.

Well, I am very careful still now but I did treat his pants like a jewel and change his zipper and everyone was very happy with my job.  I think that worked out great to earn the trust of the women that has sewn clothes her whole life and the respect as well of others.  After that I made my first strapless dress and wore it for Christmas, (the dress was self draft) I need to find a picture of it.
Now I can tell you that sewing for me is not about making something very fast but about the little details that make a garment home made from made in home,  and here it is one example and tip that I would like to share with anyone interested.

how to match perfect stripes from piece to piece to make your garment?  


I am working in this Kwik Sew K3150 Pattern, with raglan sleeves, jersey fabric for summer  and stripes fabric. 
First:
I put together front and back shirt pattern by the seam allowance of ¼” and write a line from back to front pattern pieces in the chest and in the sleeve area.


second:
I will match the sleeve to the shirt by the curve and I pass the line from the shirt pattern piece to the sleeve one.

These are the very important steps to have a stripe garment with perfect match, this tip will work for pants and skirts as well.


Here you will find a simulation of how it will look once you sew together the shirt.

Now you have to decide which stripe do  you want your lines to match, the white or black stripe? So you are going to make sure when you place your pattern on the fabric that all of your lines fall in the same color stripe.


Make sure that you sew it slowly making sure that your stripes are matching because it is very easy for them to move and the reason behind is that when sewing 2 layers of fabric the bottom fabric has tendency to stretch a little bit more because of the tension of the machine; you don’t need to adjust the tension of your machine to sew stripes, you only need to be careful.
I hope you enjoyed the tips and the story of my life, don’t forget to subscribe to my blog and follow me in the social media to keep up with my posts.
God Bless You all!xxoo


Swimsuit Vogue Pattern 9192

  Sew with my this cute swimsuit piece and enjoy some of the tips I provide to have an amazing final product.    In this video I will show y...