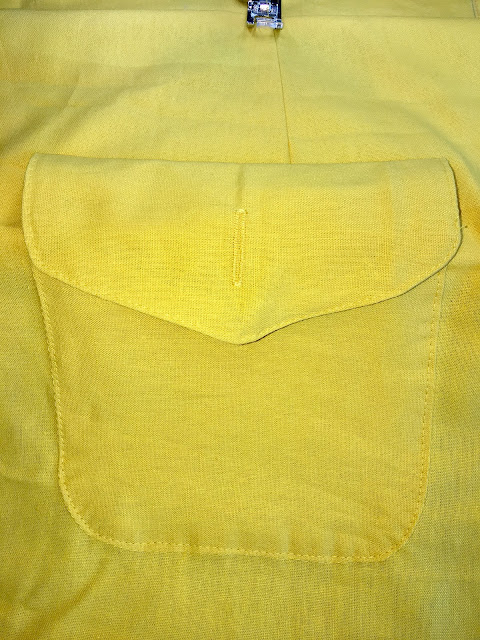
Hello, Here I am showing you how do I achieve my perfect pockets and why having good techniques will make them look more professional.
Do you remember the pockets in my yellow dress?
These are the step I follow :
My first step is to sew stitch all around my 5/8" of seam allowance as you see in the picture below. Now the reason I do that is to keep the shape of the pocket equal and to guide me; A 3.5 stitch length work for me.
Now I hand baste the seam to the inside taking care of the ease in the corners and making sure I don't mess the curvy bottom. Once you will try it it will make a whole lot difference.
This picture below is how it looks in the front. Obviously that black thread there is just to hold it together while I iron the pocket and sew it to the dress.
Now the flap of the pocket, in the picture below. This flap has curves and pointy corner, so what I do is to sew the two layers of fabric around the 5/8" seam allowance , then in the curve lines I like to cut to and not through the stitch line and in the corner I cut a V so when I turn the flap inside out, it is not bulky .
The purpose of the cuts in the curve line, is to ease the tension in that area.
In the picture below I show how the curves are still there laying soft and relax and in the point there is not bulk.
This is how finally all my pockets and flaps look!
In the two pictures below I just want to show the interior of the dress.
I hope you enjoy these cute tips about making better pockets and flaps.
God Bless you!


No comments:
Post a Comment