How to Use a Twin Needle

The Twin Needle


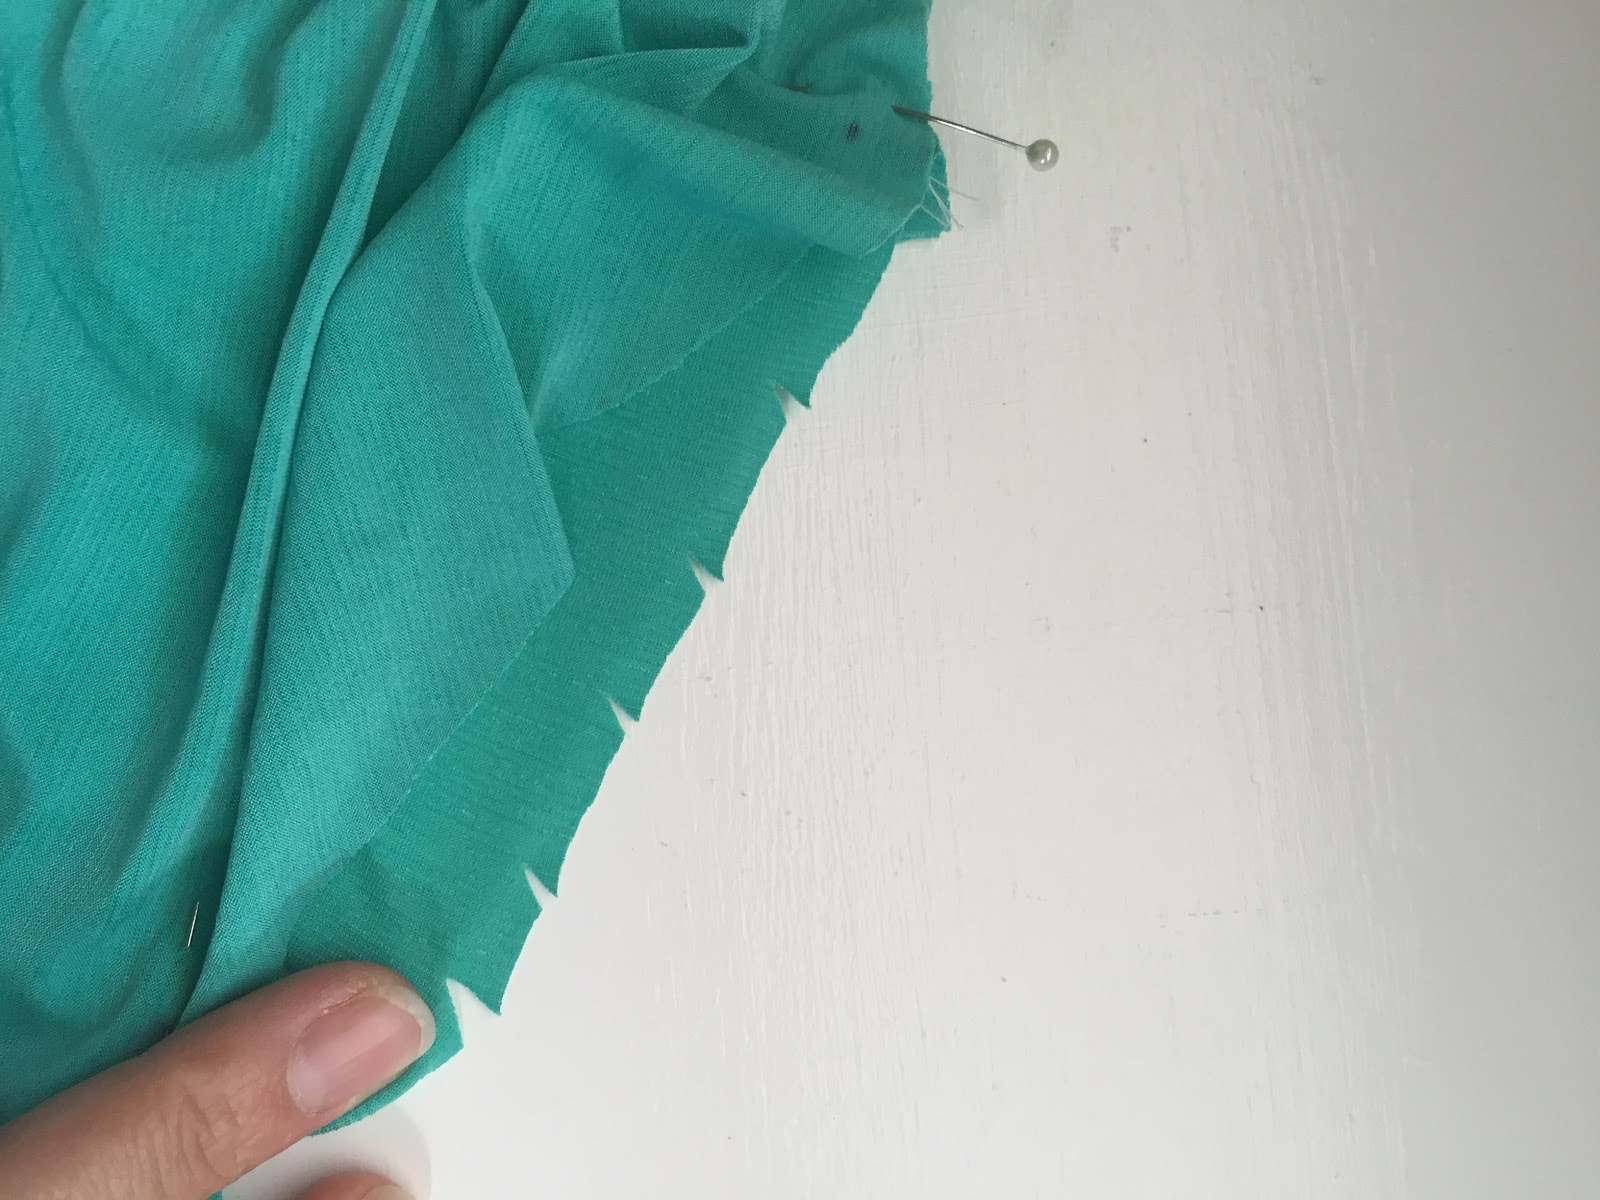
The twin needle can be used to finish the hem of your blouses, the hem of the sleeves and for decorative stiches in the garment.  In the picture above you can see me finishing the hem of my green tunic of 2 weeks ago, Usually I use a special machine for this purpose, but I could not let this tutorial scape from my hands, and it is here for you.

The twin Neddle

here are some tips for it use:
+  if your machine is automatic like mine, please don't use the automatic cutter neither to thread your machine, do all this manually.
+  Try to use it only with straight stich and zig zag Stiches.
+  try to use a foot for the machine that is precise just for it..  Mine works perfectly with the same foot of the single needle.


The process to use a twin needle

 In this picture to the left, I have to different places for the thread, Usually all the machines bring these two places.
My machine has numbers that indicate the different steps that I need to follow to thread the needles.
Tip:
we need to make sure that we grab both threads at the same time and pull at the same time to avoid any tangling.
 Let's beging, I pass both threads under the step 1, and I will pass behind the cap to go to the number 2.
from number 2 at top, I will bring my threads down to number 3.


 Down from number 3, I will make an U bringing my threads up to number 4. go behind the cap of number 4 and bring my threads down in the same way to number 5.

Here we are in the step 5!

Secure the thread in the step 6 where it keeps your threads secure and ready to thread the needles

Listo!! it is ready.  Now all you have to do is to start sewing either in straight stitch or zigzag.
I hope you guys enjoyed this tutorial, if you guys make something with the help of my tutorials and tips, don't forget to tag me in facebook to see your project.
God Bless you!

como usar la aguja doble

La Aguja doble


Por ejemplo para terminar los dobladillos de  mi tunica Ombré yo preferi usar una aguja doble que le da el mismo estilo que usan en las prendas que estan listas para usar.  Usualmente yo prefiero usar mi maquina especial para esa costura, pero no podia dejar de traerles este tip que ustedes pueden hacer en sus maquinas, sin gastar un dollar mas que en solo una aguja doble.


La aguja doble es esta que les maestro en la foto de la izquierda y que es muy facil de usar, pero tiene algunas tips que les voy a dar:
1.  Si tu maquina es automatica como la mia no uses el cortador automatic, simplemente saca tu hilo al terminar y corta.
2.  No uses puntadas decorativas con esta aguja, preferiblemente puntada de linea y de zig zag.
3.  asegurate que el pie de la maquina sea el ideal para trabajar con aguja doble.


El proceso para coser con la aguja!


+  En esta foto les muestro que lo primero es la ubicacion de mis dos hilos.  En general todas las maquinas tienen estos dos palitos para ubicar los hilos; toma los dos hilos al mismo tiempo y procede a pasarlos como normalmente se hace con uno solo.  Mi maquina tiene Numeros que nos indica los pasos uno a uno para enebrar el hilo.
Ya he pasado el hilo por debajo del punto 1.  procedure a pasar por detras al punto 2 totalmente hasta abajo.

Ya he pasado por detras del paso 2, ahora debo bajar hasta el paso 3.


Aqui ya he bajado de el punto 2.  hasta el punto 3. 


 Luego de bajar totalmente al punto 3 debo hacer la U  subiendo hasta el punto 4 arriba, paso por detras del paso 4 y bajo por el mismo abertura hacia el punto 5, y ya estaremos listos para enebrar la aguja.
Del punto 5 aseguraremos los hilos detras del paso 6 donde mantendra los hilos seguros y listo para enebrar las agujas.


Justo donde la queriamos! Nota: mi maquina tiene enebrador automatico que en este momento no voy a usar porque es solo para una aguja simple y Bueno esta es doble.
Ahora simplemente procede a enebrar cada aguja, una a una y Ya estas listo para comenzar a coser.  si tu idea es la de terminar los falsos de tus mangas y camisas como lo hacen en las fabricas de ropa, asegurate de usar una puntada directa.

Esto Ha sido todo por hoy! espero este tutorial y sus Tips les sean de mucha ayuda. Cuando realizen sus proyectos con la aguja doble, no olviden enviarme sus proyectos para ver como les pueda seguir ayudando. 
Dios les bendiga!


Me Made Top

Me Made Top


Diseño (pattern): simplicity 1365 pattern

Tienda de telas (fabric store): William chams Colombia

Tela (fabric): seersucker 


One of my favorites patterns this year so far, I love it, it is comfortable, vintage, on trend and ease to get around everywhere. This is the pattern simplicity 1365 vintage.

Uno de mis patrones favoritos este año, lo amo, es antiguo, cómodo, a la moda y fácil de llevar a todos lados.  Este patrón comercial es de simplicity 1365 vintage.


New Look 6323 Edicion Espanol

Hola mis queridos amig@s, hoy les estare escribiendo mis notas para realizer el patron de simplicity  New Look 6323.  Es un look que se lleva bien a cualquier hora del dia y solo depende de los zapatos con que lo acompanes


.


Empecemos!

  • Lo primero que vamos a hacer es sacar cada pieza del patron que necesitamos en la tela, en la foto de arriba podran ver que he puesto la pieza de la manga arriba de mi tela y la he marcado con mi marcador lavable para comenzar a cortar.
  • mi tela es elastic y delgada, asi que ellas tienden a moverse un mas de las de algodon, por eso he usado alfileres para ayudarme a cortar las dos mangas aqui plasmadas.
  • la primera recomendacion que les voy a hacer para cualquier Proyecto de tela elastic que tengan es la de escojer una aguja especial para su tela.  En este caso necesitamos una aguja de jersey o de punta redonda.  El trabajo de esta aguja es entrar entre las fibras de las telas elasticas sin romperlas.
  1. vamos a poner hombre con  hombro juntos. como en la foto a mano derecha la de arriba.
  2. coselas con una puntada derecha de 3.0 mm. como ves a mano derecha la foto de abajo.
  3. por ultimo vamos a pegar con la misma puntada y el mismo largo de 3.0 mm un elastico transparente como el que usamos en los vestidos de bano;  Para darle estabilidad a la costura y asi  no permitir que el futuro esta se ensanche.
  1. ahora que ya la costura de los hombros esta hecha, yo te la maestro abierta en la foto de abajo a mano izquierda.  Vamos a pasar a pegar nuestras mangas.
  2. en la foto de la derecha en la parte de abajo, les enseno la sisa del patron de enfrente, es muy facil identificarla porque en todos los patrones, esta tiene una pequena abertura en forma de V invertida como referencia.
  3. lo mismo encontramos en la foto de arriba, donde podemos ver dos aberturas, o cortes en forma de V V invertidas, esto nos hace referencia a que es la sisa de la parte posterior de la blusa.
  4. lo que que sucede con estas aberturas o V invertidas es que vamos a encontrarlas en la sisa de la blusa y en la manga, asi podremos poner nuestra manga sin equivocarnos de poner la manga parte posterior con la sisa de enfrente.
  1. vamos a juntar la sisa delantera con la parte de adelante de la manga, tambien la sisa posterior con la parte posterior de la manga y por ultimo vamos a ubicar el centro de la manga y lo uniremos con un alfiler a la linea del hombro.
  2. luego de tener estos tres puntos ubicados vamos a hacer unos cortes diagonals en toda la sisa de la blusa ( ojo no en la manga) con estas cortaditas en diagonales vamos a lograr que la sisa logre una tension mas suave y alcance el mismo largo de la copa de la manga.  Esto es lo que causa tener mas movimiento en el brazo.
  • ahora pasemos a coser nuestra manga, en la foto de la izquierda estoy cosiendo mi manga a 1.5 cms del margen y en la maquina de coser con una puntada derecho a 3.0 mm de largo. Yo como tengo un poco de experiencia no uso alfileres.
  • en la foto de la derecho estoy fileteando o terminando el margen de la tela.
  • Lo importante es que al coser las mangas a toda camisa, se pone la manga arriba de la sisa, porque los dientesitos de la maquina ayudan a estirarla igualmente.
TIPS: las telas elasticas no se deshilan como las telas de algodon o todas en general, por eso hay personas que pueden hacer su ropa sin necesidad de una fileteadora.
si deseas hacer tus costuras como yo y no usar alfileres, solo tienes que poner tu mano con los dedos abiertos usandolos para abrir o crear tension en la tela elastic.

ahora que ya hemos pegado la copa de la manga a la sisa de la blusa, es hora de coser la manga por todo el largo, desde la boca de la manga pasamos por todo el largo hasta unir manga con manga y posterior de la blusa con la parte frontal de la blusa.
  • en la foto de arriba a mano derecho, pueden ver la V invertida, eso como referencia de cerrar la manga y no dejar un lado mas largo que el otro.  Asi podemos lograr una costura ideal como la que tengo en la foto de la izquierda.
  • listo en la foto de de la derecha parte de abajo, ya tenemos casi lista la blusa. ahora solo falta terminar los falsos de la blusa, manga y el cuello.
COMO PEGAR UNA BANDA AL CUELLO DE LA BLUSA
Lo primero que debemos hacer es divider el cuello en cuatro partes iguales, (no, No!. las lineas del hombro no son parte iguales). 
  1. Para divider el cuello en 4 partes iguales busca el centro posterior y el centro frontal o delantero de la blusa. como lo ves en la foto derecho parte de abajo.
  2. luego que tienes el centro posterior doblado y el centro delantero doblado, vuelves y doblas dejando el centro delantero con el centro posterior unidos, como en la foto de arriba hacia la izquierda y alli encontraras las otras dos partes que necesitabamos.  Listo hemos encontrado los 4 puntos cardenales de la blusa.
  3. usted puede observer en la foto de arriba, hacia la derecha la foto de arriba,  que tengo con pequenas lineas moradas, el centro posterior, el centro delantero, el Este y el Oeste de la blusa.  Que Bueno que pueden ver que los hombros no son para partes iguales.

TIPS
  1. la banda que vamos a pegar al cuello es al menos 20% menos larga que el cuello.
  2. Esta banda debe ser de tela elastica para poder estirarla.
  3. encontrar los 4 puntos cardinales de la banda asi como hicimos con el cuello de la blusa ( repita los pasos anteriores)
Tomando como referencia las 3 fotos de arriba continuaremos a pegar la banda al cuello.
  1. La banda la vamos a doblar para que quede como una cinta de bies, por ejemplo las fotos de arriba, mira la foto de mano izquierda la de abajo.
  2. con la banda ya doblada, unimos con alfileres los 4 puntos cardinales de la banda con los del cuello, asi como lo ven en la foto de arriba, la del top.
  3. Para coser, usa una puntada derecho de 3.0 mm de largo y comienza por uno de los puntos, trata de no coser sobre el alfiler.  vas a ir estirando la banda a medida que se cose hasta que llegues al otro punto y continuas.
  • cuando la banda ya esta pegada al cuello, es necesario terminarlo por afuera, dejando la costura de adentro hacia abajo y coser a 0.3 mm del cuello para que quede asegurada y la banda no se voltee.  En la foto de arriba hacia la derecho pueden ver que estoy cosiendo muy cerca de la costura del cuello.  Y asi como ven la foto de la izquierda les deberia quedar un cuello con banda muy bonito.
Ahora lo unico que debes  hacer es terminar los falsos del vestido y de las mangas, si no lo quieres hacer pues no lo necesitas pero yo personalmente lo hago porque me gusta dejar un look muy professional.

Puedes encontrar este top en mis outfit de la semana, aqui mismo en el blog, Este es el fin de este tutorial, Espero que les guste y si quieres recibir articulos como este en tu correo electronico, No olvides suscribirte.
Dios les Bendiga!

NewLook 6323 Pattern

Hello dear friends, today I am going to be writing a review about the Newlook 6323 Pattern. It is very easy to sew and many people just love this kind of outfit ideas.

This pattern you will find it in stores like hobby lobby and Jo Ann. also you can find it directly at their website: http://www.simplicity.com search for the 6323

Lets begin!

  • the first thing that I do I to cut out every piece that I am going to use to make this top.
  • put every piece of your pattern on top of your fabric and cut the pieces out of fabric. Make sure some of these pieces are on fold, so keep that in mind.
  • Me personally, I like to draw the patterns that have so many curves in the fabric with my pre-school marker, so I can cut it out much easier.  This pattern is for Knits fabrics and sometimes knit fabrics can move a lot. 
  • I am cutting out two layers of fabric in the picture above and that is why you can see so many pins at the moment.
  • now that I have all my pieces out: front shirt on fold, back shirt on fold and my sleeves, I will recommend a jersey needle for this Knit fabric project.
  • And the mean reason for this is that a standard needle will create holes in the knit fabric making it to reap, and jersey needles point are more round, letting the needle pass through the fabric without breaking it.
  1. Now put together the front and back shoulders. like you can see in the picture above right hand top one.
  2. sew them together with a 3.0 straight stitch
  3. with a piece of clear elastic, the same length as the shoulder line, sew it on top of the shoulder line; this is so In the future this seam does not stretch out.
  1. Now you have the shoulders together, you need to open that seam like in the above picture left hand bottom one. we are going to pin the sleeve.
  2. the sleeve has notches that indicate front and back.  In the picture above to the right bottom one, it a sleeve with the single notch, that is the front.  Always!
  3. and the top picture from above has 2 notches indicating that is the side that you sew to the back shirt.
  4. the shirt at the front underarm has a single notch to match the one in the sleeve and the same for the back, it has 2 notches to match the sleeve.
  5. Pin your back sleeve to the back underarm, the shoulder line to the center of the sleeve like in the picture above and also pin the front underarm to the front sleeve.
  6. make little diagonals cut in the back and front underarms. (not the sleeve cap) so the fabric can have more ease to sew perfectly and match the length of the sleeve cap. Most sleeve caps have around 1/2"to 1" ease.

  • start sewing your sleeve to the shirt, the sleeve needs to be on top and the underarm of the shirt at the bottom, so you can stretch the fabric with your fingers while sewing. If you don't have much experience sewing, I recommend you to stretch the fabric with your hand and pin it.  you can find an example in the above picture to the left.
  • Knit fabric wont unravel, but if you are like me that  love finishing the edges of your cloth so they look more professional, go ahead and serge it like I do in the picture above to the right.
After you have sewn your underarms with the sleeve cap, it is time to sew the whole side, all the way from the hem of the sleeve, pass the underarm to the side of the shirt until you reach the hem of the shirt.
in the sides of the shirt at front and back, there is a notch that indicates those pieces go together, for example look at the pictures above the top one at right hand. those are the notches.
You can see that you need to match also your underarms so you can have a great seam like I did in the picture above all the way to the left. and there you have your shirt almost finished.

It is time to finish the neckline, for that we are going to put the band that comes with the pattern, but it is very important that you find the middle of your neckline in 4 equal parts. like you see in the picture above to the right hand at top.  there are 4 purple little lines that I made to show the 4 equal parts.
  1. like in the picture above to the right hand bottom one you are going to put shoulder lines together and the back and front of the shirt on fold.
  2. Make a mark with your pen or marker in the center back and center front of the shirt.
  3. like the picture above all the way to the left hand, you are going to put together front fold to back fold and there you will find the other middles.
many people think that center back, center fold and shoulder lines are the 4 cardinal points they need in a shirt but that is wrong, with the method above you can see in the picture to the right hand on the top, that my shoulder lines are not the points but at least 1"before them.

  • Now we are going to attach the band to the neckline, to this band you are also going to find your 4 cardinal points like we did on the neck like but much easier. Just put your band on fold and mark center back and center fold and fold again.
  • match the 4 cardinals point of the neckline  with the one in the band and pin so they don't move.
  • keep in mind you need to place the band to the outside of the shirt, the part that everyone is going to see, so the seam will be place to the inside. look at the picture above, top one.
  • next thing you have do is  to sew them together stretching the band to match the neckline (yes! the band is always smaller so it doesn't gap).  the neckline must be at the bottom and the band on top while sewing.

Now finish your neckline by making a top stitching in the outside of the shirt at the neckline, sewing the seam allowance down, for a more professional look.  This all now everything you need to do is hem your dress and the sleeves, or not hem them at all if you prefer because It is a knit. I just finish mine with my twin needle.
find this top in my Outfits tab

This is the end of the tutorial, I hope you like it, subscribe to my blog for more interesting posts and May God Bless You.

Outfit of the weekend

Me Made Dress


Diseno (pattern): New look 6323 from simplicity

Tienda de telas (fabric Store):  Jo Ann Store

Tela (fabric) : Ombré Knit 


Este Vestido o bluson es un patron de la empresa de patrones comerciales Simplicity es uno de mis favoritos (new look 6323)  y el de mi madre y hermanas, finalmente me pude hacer otro de estos ya que a mi mama le gustan tanto que siempre se los regalo y mi bella Hermana le quita uno que otro.  Son escensiales para una tarde con glamour o para un dia de playa, todo depende de los zapatos que le pongas.

This amazing dress or tunic from the simplicity company, is one of my favorites (new look 6323) and it is also the favorite of my mother and sisters; Finally I had the opportunity to make another one because every time I Make them, My mom takes them with her and my sister fight her for one or two.
This type of tunic is essential for a glamour evening or for a day at the beach, everything depend of the shoes that you will choose for it. 


Swimsuit Vogue Pattern 9192

  Sew with my this cute swimsuit piece and enjoy some of the tips I provide to have an amazing final product.    In this video I will show y...