Outfit of the day

Me Made Sport Top


Disenado Por (designed by): Julie Harris
Tela (fabric): Knit 
Tienda (store): Jo Ann Fabrics


Si, este es mi blusa favorita para el fin de semana, de inmediato le da color a mi dia!

Yes, this is my favorite top for the weekend, it makes my day shine!

Outfit of the week

Double Face Top / Top Doble Faz 


Diseno (Top designed by):  Julie Harris 
Tienda de Tela  (Fabric store at):  Jo Ann store
Tela Usada : tela stretch deportiva blanca y tela strech calados negra
Fabric: rib knit in white and double knit square in black

I definitely loved the back neck contour  I did in this pattern!

Definitivamente amé el escote de espalda, que disene en este Patron!


how to install a central zipper

Hello friends, today I come with an easy tutorial that is ideal for beginners and I hope you find interesting. we are going to install a central zipper and maybe it sounds ridiculous a central zipper? but obvious all zipper are centered! well, no all of them, fashion has come a long way and now you find zippers even in your pockets, we have so many kind of zippers, the invisible zipper, the separable zipper and yes those are their names, pants zippers and we also have the zippers that now everyone can see.  so let's do the the centered zipper in this top that you guys are going to find in the outfits tab of this blog.

STEPS 

  • I have decided to place like most people my zipper in the center back of my top, I have left two purple lines that I made with my washable marker, so you guys can see.  Those lines are my seam allowance where i am going to place my zipper, they are 1/2" seam allowance.
  • Now we are going to put the center back with center back right or self fabric together. So we can sew a long straight stitch of 4.5 
  • we need this length because we are going to remove this seam later. 


  •  Now that we have that seam, we need to open it like I show you in the first picture above to the left, it will be ideal if you iron it, so you dont get gaps.
  • place the zipper with the teeth down facing the fabric like a show you in the picture above at the bottom right, you need to place the teeth of the zipper in the middle of that seam. 
  • pin all your zipper in both sides so it doesnt move.  dont worry we are almost done!


  • Now that you have everything pinned, you need to turn around the garment and star sewing with a straight stitch of 3 or 3.5  on the side of the zipper. try not to cover the teeth of the zipper so it can slide down and up with not problem.  like in the picture above left side, I show you my seams on each side of the center back. 
  • Now the last thing you need to do is to take of the long straight stitch we did on those purple lines and you are done!
This is my top with the centered zipper finished, you can barely know it is there. I only have to finished some little details in underarms and the neck line of my top and you will be able to see it in the outfits tab of my blog.  this tutorial is ideal for beginners, go ahead do it afraid, we all have been there, I have my own story when I first started sewing but I will tell you about that in another moment.

Note: this top have been designed by Julie Harris.

I hope you guys find my tutorial interesting, if you like the blog subscribe with your email and don't miss any of my posts. God Bless you!


Una corredera centrada

Hola amigos, estoy feliz de traerles un nuevo tutorial que quizas a muchos ya lo han intentado y habran otros que diran: No tenia ni idea que podia ser asi de facil.
hoy vamos a ponerle una corredera centrada a mi top que encontraran en el outfit de la semana en el link de outfits arriba en el blog. Y aunque se les pase por la mente, hay una corredera centrada, obvio que las correderas son centradas!? sera? hoy en dia hay muchas correderas tipo chaqueta que son separables y ese es su nombre, las correderas invisibles porque nunca se sabe donde estan, las correderas solapadas, las de pantalon, en fin hay muchas y no todas van centradas, ahora encontramos correderas hasta en los bolsillo pero hoy intentemos la corredera o cremallera centrada.

PROCEDIMIENTO
Para esto necesitamos saber donde instalarla, yo la voy a poner en todo el centro posterior de mi top, para esto he dejado una costura simple de 1.5 cms, van a poder ver dos lineas moradas que hago con mi marcador lavable y esto lo hago para que mi costura sea eficaz y correcta.  
Ahora que ya sabemos donde ubicarla y tenemos nuestro margen de costura ya marcado para que sea igual en ambas partes del top, vamos a tomar este top derecho con derecho de la tela y vamos a unir o coser por toda la linea morada con una costura larga entre 4 a 4.5 porque? porque luego vamos a descoser esta costura y no queremos que sea algo arduo, entre mas facil sean tus proyectos, mas los disfrutaras.  a este proceso se le llama hilvanear.


  • Listo! despues de coser la costura vas a abrila con tus dedos como lo hago en la foto de arriba en la parte izquierda y planchar esta costura abierta seria lo ideal. porque vamos a proceder a poner la corredera o cremallera.
  • Poner la corredera con los dientes hacia abajo que esten pegados a la tela y que estos dientes queden justo en todo el centro de la cosutra.
  • Procede a poner unos alfileres para que no se te muevan. asi como te muestro en mi foto de arriba en ya todo alfilereado.
Ahora que ya estamos casi a terminar, lo que nos hace falta es voltear la prenda de vestir hacia el derecho, es decir donde se vea la costura final.  y vamos a pasar una costura recta de 3.5 les muestro una foto para que sea mas facil.
  • Con mi lapiz computarizado de mi maquina les estoy mostrando en la foto de la derecha que ya hice esa costura y he pasado a coser la costura izquierda o del otro lado de la corredera.
Bueno amigos eso es todo! ahora lo unico que deben hacer es quitar el hilvan  que es la costura de linea recta y larga de 4.5 que hicimos en las lineas moradas y puedes abrir y cerrar tu corredera o cremallera. Ahora me voy a terminar mi top que me hace falta finalizar detalles en la siza y en todo el escote.

Nota: El top ha sido disenado por Julie Harris.

Espero este tutorial les haya gustado, es muy facil e ideal para principiantes, todos empezamos en algun lado y en su momento.  Yo tengo mi pequena historia del dia que aprendi a coser y lo primero que hice fue cambiar una corredera! la del pantalon de mi abuelo que no es lo mismo jajajaja asi que esa se las cuento en otro momento.

Si te gusta mi blog, suscribete! solo tienes que poner tu correo electronico y semanalmente te llegaran mis articulos y fotos directo a tu email.  Que Dios les bendiga!

HELPFUL TOOLS

hello friends, today I want to talk about two out of so many of my favorites tools to work in my projects.

There is something needed and that is important to quilters, designers, cloth makers and all type of crafters that we can not denied: a great washable marker or washable pen.

I personally have used a couple of them that can be expensive and cheap, but there is on in special that I enjoy using so much and that I have bought for my mother's projects, the washable marker from rose art brand.  You usually can find it at the Office Depot, Walmart, target, and even better at Amazon that ships almost everywhere you need it.
The price is great, around $4.00 bucks for the whole box of 10 washable markers, so you have fun that last for a long time.

Why do I recommend it?

  1. It has a great price
  2. I have use it in all kind of different fabrics like cottons, knits, challis, etc. and I can honestly tell you that I have never had a spot left when I wash my fabric.

So I can tell you that you will have plenty of fun with not regrets. Below it is a picture of it, so you can have an idea.

This second tool that is very helpful and by the picture you can see why, is my lint roller.  I am kind of a clean freak, my friends can tell about it, I am not exaggerating about this subject, so when I am sewing if there's something that bothers me is having threads all over me or around my work place, so  along came my favorite lint roller that work wonders for me.  I have one in my work area and also in my car because there is nothing worse than black clothes with some sort of white lints around.  The brand I use is Scott brite and it is very cheap as well, I am very sure that all of you have one around.

This is an example that I was not kidding when I said that I used in all kinds of fabrics; here I was working in my recent pattern McCall 7162 and after I washed my fabric, there was not marker left.
You can go to Walmart or Jo Ann's and you will find some washable fabric markers that I have used but it won't last that much compare to this one, also I have hear so feedback from quilters hating it.  This I know that won't compromise your projects.

I hope you found these tips helpful, if you really like my blog, I invite you to subscribe with your email so you won't miss any of my post. If you feel like pin it, go ahead it makes me happy.

May God bless you and have a great day!

MIS HERRAMIENTAS FAVORITAS

Hola amig@s, hoy les traigo en este post una de mis herramientas de trabajo favoritas que se ajustan al alcance de su bolsillo y tambien al uso en el hogar fuera del arte.

Hoy les hablo de mi marcador lavable de marca rose art, es un marcador que se encuentra en una caja con 10 unidades, lo encuentras en él área escolar para los pequeños de la casa pero que también lo podemos usar en los proyectos del hogar.
Yo personalmente los uso para la creacion de mis proyectos, para trazar las pinzas de mis camisas, transfiero marcas de mis patrones comerciales a la tela y les puedo asegurar que después de lavar la tela, jamás me ha quedado una marca de tinta en ella.

Porque lo recomiendo?
1.  Nunca me queda rastros de haber usado un marcador
2. Son baratos. Por cada caja de 10 unidades te cuesta máximo $4.00 dólares y los consigues en mucho lugares como office depot, walmart, target, y aún mejor en www.Amazon.com que hace envíos a todos los paisés. Buscalo como rose art washable marker.
Toda persona que esté en él área del arte y de las artesanías seguramente lo ha necesitado y que mejor que este que llevo 3 años usándolo sin ningún problema.

Aquí les dejo una foto para que vean de cuál les hablo.

La segunda herramienta de trabajo y que seguramente todos conocen es el rollo limpiador de pelusas, normalmente usado en chaquetas o en ropas de color negra porque seamos honestos, que cosas más desagradable que encontrar pelos o pelucas blancas en ropa de color negro.  Si quizás esta sea una herramienta de poca utilidad para muchos, pero yo soy un poco estricta cuando se refiere a la limpieza en el hogar o en mi área de trabajo, mis amigos pueden son testigos de esto, así que para mí es una herramienta necesaria.  Este rollo es de la marca acott brite. 

Esta es una herramienta supremamente barata, un rollo cuesta $1 dólar, yo siempre tengo una en mi carro y otra en mis área de trabajo. No me gusta tener hilos colgados por todas partes de la máquina o de la ropa en la que estoy trabajando, especialmente porque aquellos hilos se meten en la bobina y hacen nudos.

A continuación les quiero enseñar una foto del último proyecto en el que estuve trabajando, es el patrón de McCall 7162 , en esta tela se puede observar mi marcador pasando las líneas de pinzas. Les aseguro que después de haber lavado la tela, no quedó ningún rastro del marcador.

Amigos espero mis Típs les sirvan para sus proyectos y encuentren mis consejos totalmente confiables, si les ha gustado mi blog les invito a que se suscriban con el correo electrónico para que no se pierdan ninguno de mis post.  Si desean darle un pin en pinterest, me haría muy feliz.

Dios les bendiga!


Me Made top

Outfit of the Day 

Blouse fabric (tela) : chiffon
Fabric store (tienda de tells) : Jo Anns store
Pattern (patron del top) : Julie Harris creations.
Jeans : Gap
Sandals: Nine West

Me Made Top

Me Made Top


Fabric ( tela) : challis 
fabric Store (tienda de tela) : Fabric.com
Pattern (patron): McCall M7162


Comercial Patterns

TIPS TO WORK WITH COMERCIAL PATTERNS

Hello friends, I have been working on a top that I would like to wear in my third year of mother's day, but I was a little worried if I was going to finished on time because I have a little guy and definitely all my attention is form him. I feel so happy when he takes his evening nap and I can work on a project and write about it in my blog.
the pattern I have been working is the McCall 7162, it is easy to do but the fabric I chose was not the easiest. (challis)


would you believe me if I tell you how much I thought about making this top?! usually I like to work with the vogue patterns because I don't have to make so many changes, but this time I took it as a challenge and I decided to write a post to help others out there with my tips. 

+ the first thing you need to do to work with a commercial pattern and make sure that you are not going to be working in something that would end up needing to many changes is: take your measurements for a top you usually need the measurement of your bust and waist.  so you can find out in the envelope of your pattern, which is your size.

+ the fact that you already know your measurements  and realize that you are size 14 for example,  it doesn't mean that the top is going to be a close fit as it looks in the picture; So for a close fit you need to take your breast and waist measurements and divide it by 4.
why 4? because the patterns has 2 fronts and 2 backs even if it says on fold.

+ example: I am a size 14, my breast is 36" and my waist is 28" so if I divide my breast measurement by 4 is 9'. so I expect my pattern to have 9'to 9 1/4" in the bust line, so I wont look like I have the shirt of somebody else. if my pattern happens to have more than 9 1/4" in each side of the pattern, it would be more than 1"ease in the total bust line, so it will look like a blouse with a lot of gap in it.

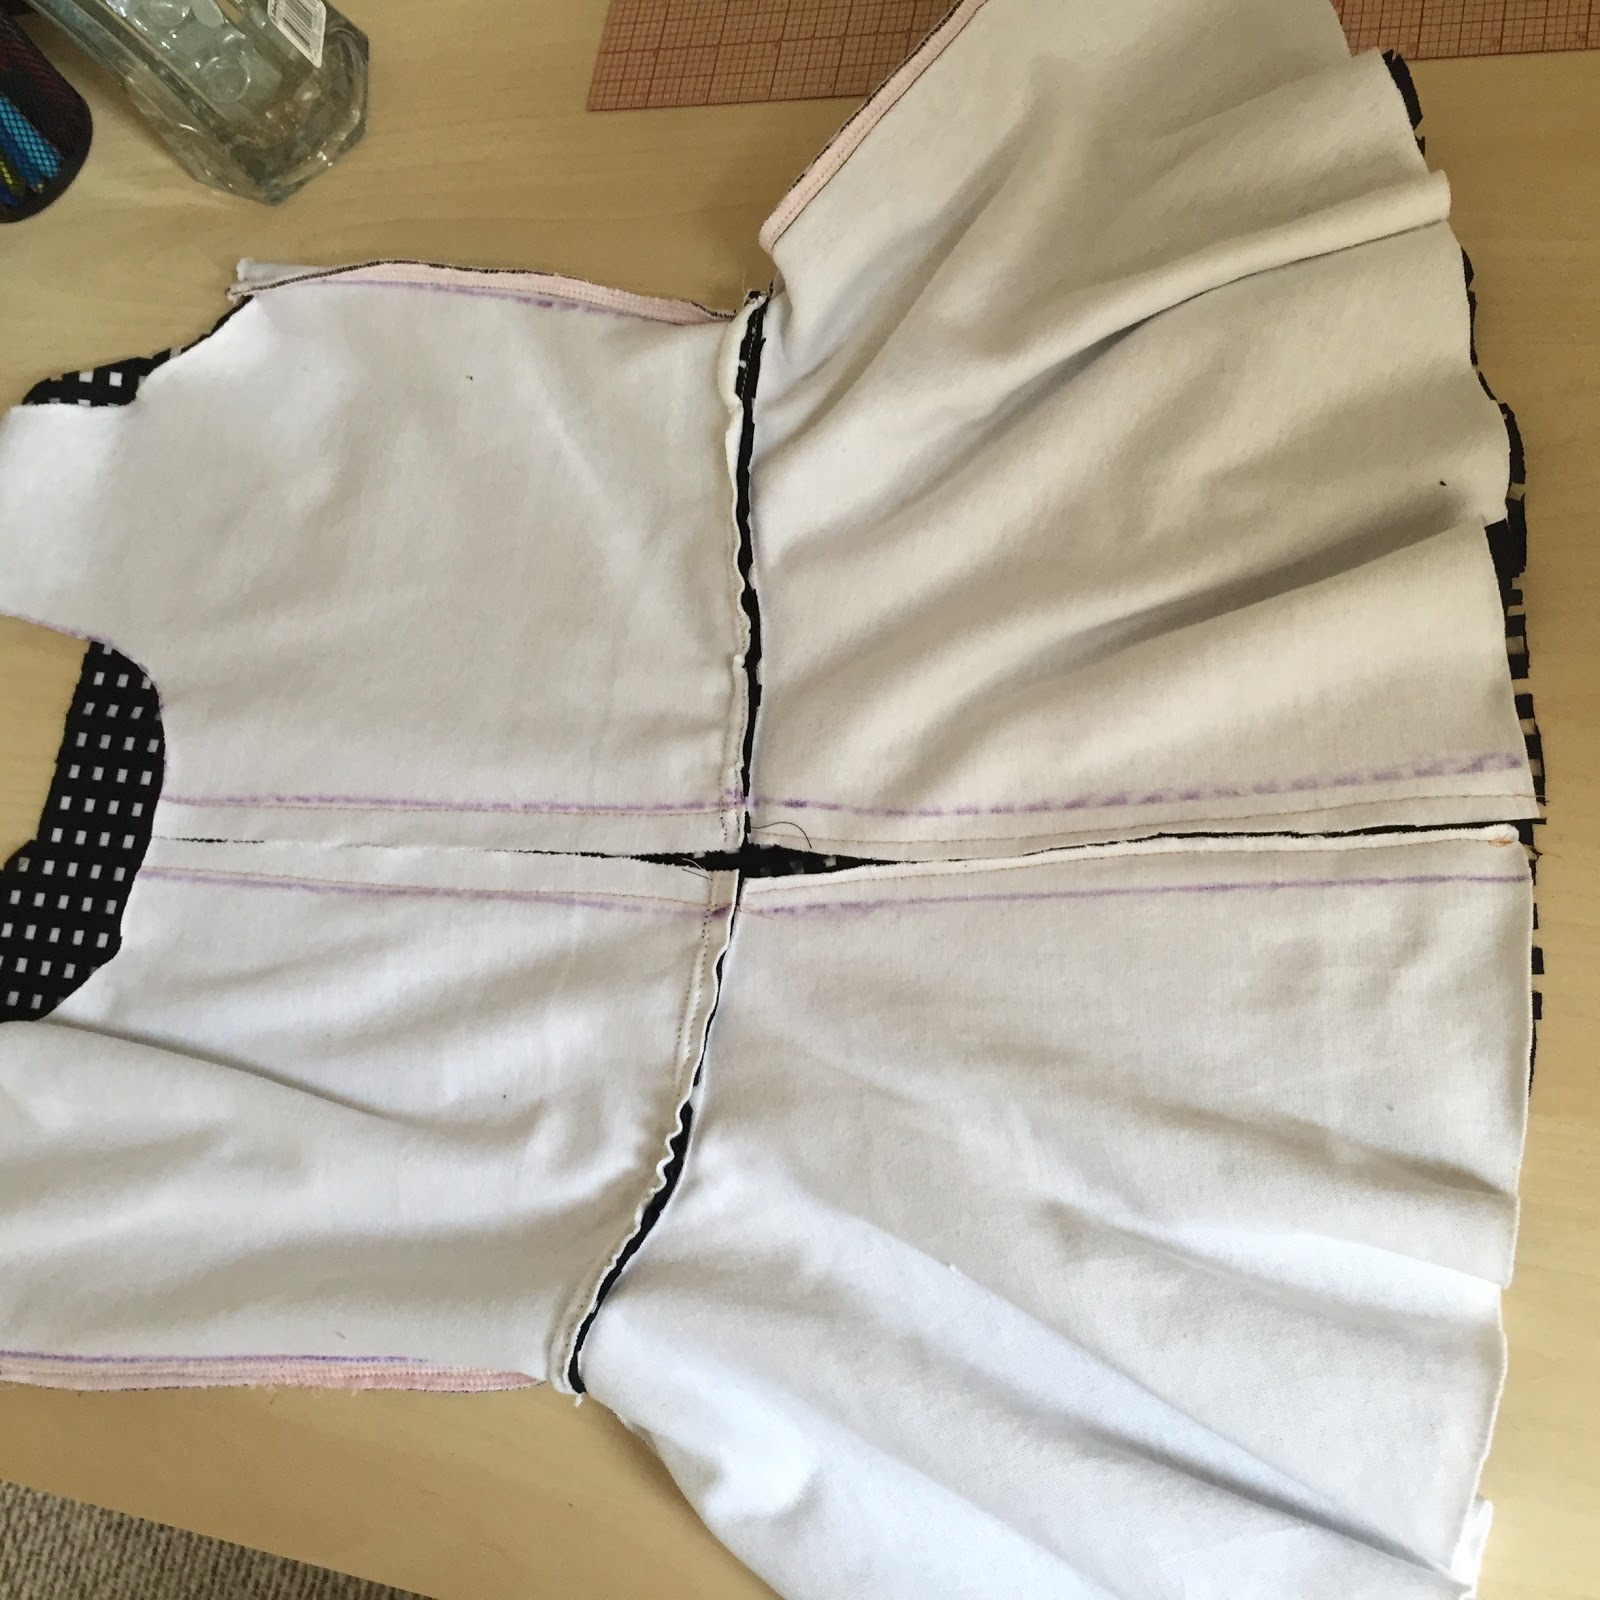
In the following picture, I show you my bust line in the horizontal red line.  I was finding out how much ease my size 14 had. After measuring, I realize that the measurements with ease and seam allowance for me was the size 12.


the horizontal red line goes from center front to the under arm, I leave the seam allowance of 5/8"for the pattern and is there where I came to the conclusion of needing to work in the size 12.

following these tips that I am giving you, are going to save you plenty of time sewing that could end up being reaped and working in the smaller size. so I really suggest to:
  • take your measurements.
  • find out which is your size in the pattern.
  • divide your measurement by 4
  • measure the pattern in your size to know how much ease has and don't include the seam allowance. 
  • by last, just decide what size will be the best for you and your project. 

These tips are ideal for those who are looking for a close fit top, but if what you desire if a bigger ease in your top, you equally need to measure, divide by 4 and add the ease needed.

I really hope that my tips are helping some of you out there, I enjoy writing about something new for you guys.  I wish to the moms a very happy mother's day and God Bless you!

If you like my tips, I hope you follow me by email and subscribe to my blog so you don't miss any of my posts.


Patrones comerciales

TIPS PARA TRABAJAR CON PATRONES COMERCIALES


Hola amig@s, he estado trabajando en un top que me gustaría lucir para mi tercer año del día de las madres, pero estaba preocupada si terminaría a tiempo o no porque con un pequeño en casa mi atención es toda para el.
 El patrón con el que he estado trabajando es el de McCalls 7162, es sencillo y fácil de hacer, pero la tela que escogí para mi proyecto no fue la más fácil (challis).


Créanme que para hacer este proyecto lo pensé mucho, porque normalmente amo los patrones de Vogue, siempre se ajustan perfectamente a mis médidas y sin tener que hacer tantos cambios, así que esta vez me tome este proyecto como una meta más para enseñarles mis Típs.

+ Lo primero que debes hacer en este caso que es un top o blusa, tomarte las medidas del busto y de cintura, para localizar cuál es tu talla. Yo soy talla 14.  Eso no indica inmediatamente que me va a quedar justa como yo anhelo. para eso debes verificar y medir el patrón. 

+ Luego vas a dividir está en 4 partes iguales tus medidas de busto y cintura, por ejemplo yo soy 36 pulgadas de busto y 28 pulgadas de cintura. Cada patrón se divide en 4 partes: dos parte posterior y dos partes frontales.  Así que mi expectativa es que cada una de estas partes sea al menos de 9 pulgadas y no más de 9.25 pulgadas. Porque al ser mayor de 9.25 pulgadas me quedaría muy grande. 

En la foto que sigue a continuación les enseño cómo hago para medir mi línea de busto y asegurarme que no me va a quedar muy ancha, que pareciera blusa prestada.

La línea roja horizontal va desde el pecho hasta la sisa, es allí donde marco mis 9.25 pulgadas mas 5/8 pulgadas  de margen de costura que indica que la talla que debo cortar es la talla 12. 


Luego de medir la talla 14 dentro del margen de costura que es de 1.5 centímetros me lleva a la conclusión que aunque con mis médidas yo caigo en la talla 14, para usar este patrón yo soy talla 12. Así que teniendo en cuenta esta evaluación de medidas te ahorras mucho tiempo cosiendo y descosiendo, así que.
  • Tomate tus medidas.
  • Analiza cuál es tu talla
  • Divide tus medidas en 4 partes iguales 
  • Mide tu patrón dentro del margen de costura, no incluyas pestañas, o espacio de costura. 
  • Y decide cuál es la talla con la que vas a trabajar. 

Este típ es ideal para aquellos que buscan un entalle justo, si tu anhelas una blusa más ancha, solo tienes que tener en cuenta que tan ancho la deseas y divide esa medida en 4. 

Espero este Tip Les sea de gran ayuda, fue un placer para mí tener algo nuevo que enseñarles, les deseo un feliz día de las madres y Dios las bendiga.

Si te gustan mis Típs y post te invito a que te suscribas a mi blog y no te pierdas un solo tip.

Swimsuit Vogue Pattern 9192

  Sew with my this cute swimsuit piece and enjoy some of the tips I provide to have an amazing final product.    In this video I will show y...